Set up Vitruve Speed
Go from a closed case to a timed rep, understand hub and nodes, channels, gate height, and walk the beam before a session.
A Vitruve Speed setup takes under 30 seconds from a closed case to a timed rep. There is no pairing step and nothing to align.
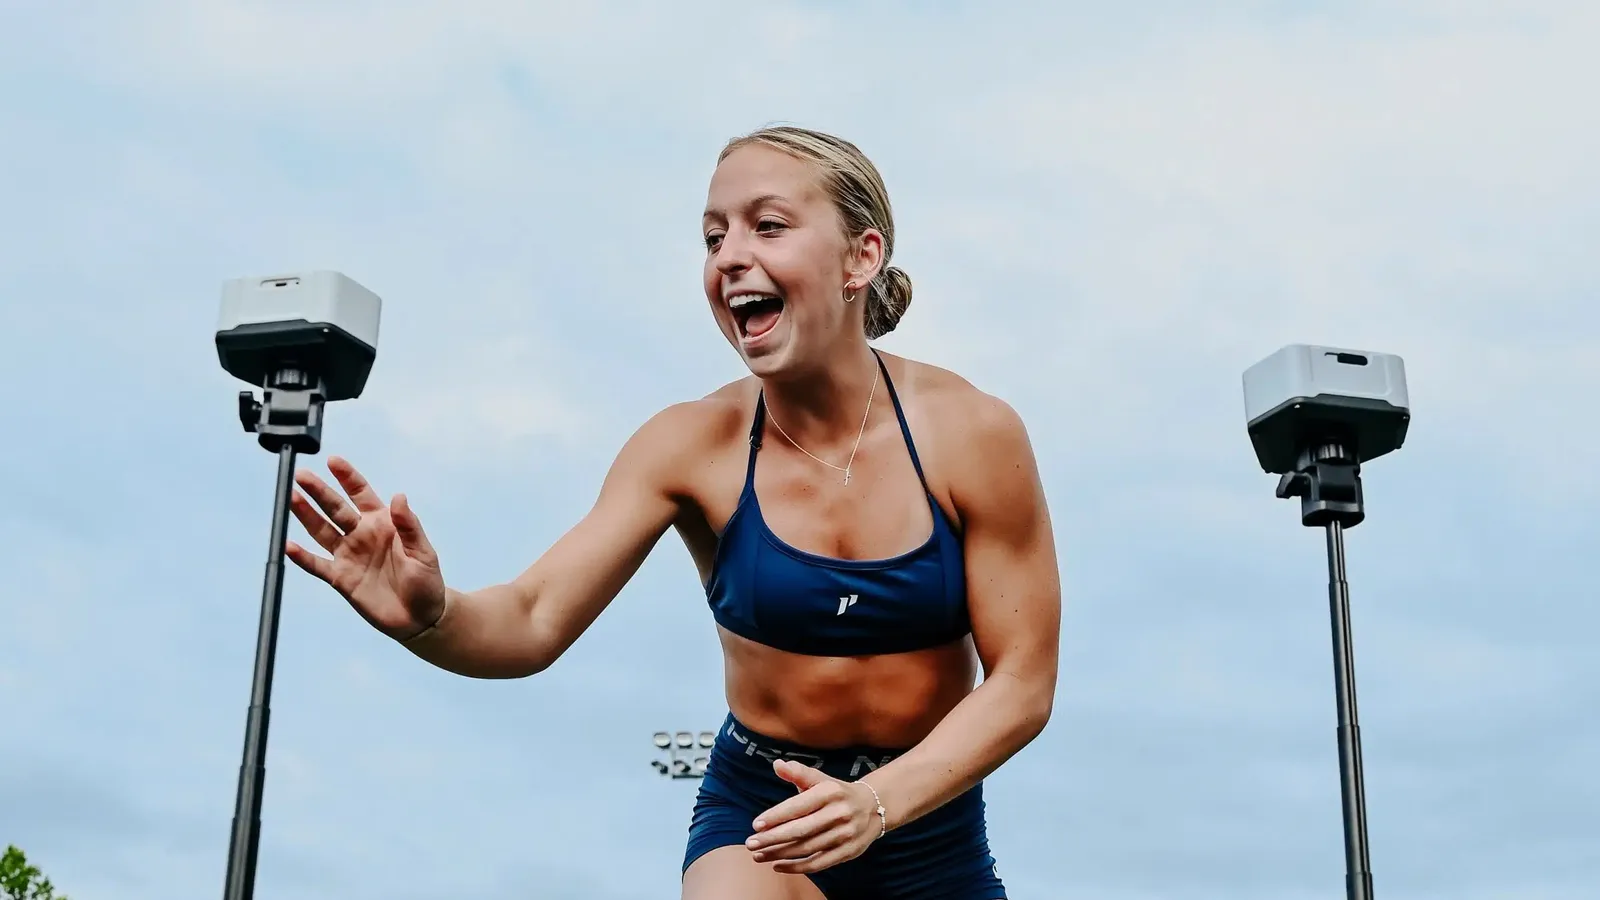
From the case to the first rep
- Seat each gate on its tripod. The magnet in the base holds it in place. Set the height for the drill (see Gate height).
- Hold the power button. The gate shows Starting, then its firmware version and gate ID.
- Let the gates pair. Gates on the same channel find each other and join automatically.
- Set the trigger on each gate. The usual pattern is In-Beam on the start gate and Break-beam on the finish gate. See Trigger.
- Enter the distance if you want velocity. Without a distance you get time only, which is a valid choice.
- Run. The screen reads Ready. When the athlete crosses the beam the gate beeps, the LED turns blue, and the screen reads Running.
Hub and nodes
One gate is the hub, the control unit. The others are nodes and report to it. The home screen shows H or N, so you always know which one you are holding.
- Pairing is automatic. A gate that is switched on looks for other gates on the same channel and joins them. A gate switched on in the middle of a session joins that session.
- Become a Hub promotes any node to hub in one step. Move the control point to where the drill is, rather than moving gates to where the hub is.
- In the app, connect to the hub only. Its nodes come along automatically, so there are no per-gate IDs to add. See Connect and select a device.
If the hub is switched off, nodes still on its channel beep to tell you they lost it. That is expected.
Channels
Channels keep sets of gates apart. There are up to 30. Two lanes on different channels do not interfere with each other, so two athletes can race side by side.
Indoors, changing the channel is also the fix for interference from Wi-Fi.
Gate height
Aim the gate at the athlete's center of mass. That principle matters more than any number.
- Flying sprints and any gate the athlete runs through: set the gate at the athlete's waistline. Aiming at the midsection gives the most consistent data.
- In-Beam starts from an upright stance: set the height to suit the starting position. It differs between a sprint start and a change of direction start, and between drills.
- In-Beam starts from a three-point or track start: the athlete is already low, so put the gate on the ground. Keep at least 12 in (30 cm) between the athlete and the gate. An athlete set up right on top of the gate causes noise and false triggers.
Walk the beam
Check the working detection distance at the start of every session, in the space you are actually using. It takes two minutes and prevents the most common problem: a time that does not register.
- Stand in front of the gate and use yourself as the target.
- Back away slowly until the gate stops detecting you. That is your working detection distance.
- Put a cone down so athletes know which lane to run.
Keep everything at least 12 in (30 cm) from the gate, whether an athlete is running past it or setting up in front of it. Closer than that, detection suffers. To change how far the beam reaches, see Detection distance.
Example layouts
These are examples to adapt, not a prescribed way to run a session.
| Layout | Setup |
|---|---|
| Two-gate sprint | Gate 1 on In-Beam at the start line, gate 2 on Break-beam at the finish. Enter one distance. Start here. |
| Fly with splits | Three or more gates, all on Break-beam. Enter the distance between each pair, for example 10 m and 20 m as two splits in one rep. |
| Change of direction | Athletes run through in either direction, so the same gate reads going out and coming back. Set the lane for the drill, then leave the hardware alone. |
| Reaction | Choose the game, its duration, and the reaction distance, then choose the spacing. See Reaction games on the gates. |
When you record through the app, enter each segment's length, not cumulative distances. See Record sprint workouts.
Before your first season
- Walk the beam and set the detection distance.
- Set the trigger on each gate for your standard drill.
- Set Lockout for the whole chain, not per gate. See Advanced settings.
- Agree a naming convention for your sprint and reaction exercises, and keep it. A drill's name is the only thing that tells two setups apart: if "Fly 10" means a 10 yd build-up in March and 15 yd in June, the trend line mixes two different protocols.
- Decide whether you will run with or without the app. Reps timed without the app stay on the gate.